DJI OSMO MOBILE 2
Video tutorials for a DJI Osmo Mobile 2, which stabilizes video shot with an Android or iOS smartphone, should begin with how to prepare the Mobile 2. It explains everything from battery charging—the battery is internal and not removable in the Mobile 2—to mounting and balancing the smartphone and starting the DJI Go 4 app. “How To Operate” demonstrates use of the handle buttons for panning, changing pitch, recording, switching to front or back views for selfies, and zooming. Other videos instruct on using ActiveTrack to follow subjects and on updating firmware.

Osmo Mobile 2, operating your Osmo Mobile 2. The Osmo Mobile 2 consists of 2 parts: a gimbal and handle. Introduction to gimbal. A mobile phone can be mounted to the Osmo Mobile 2 vertically or horizontally. The mobile phone is mounted horizontally by default. Or you can mount the mobile phone based in your need. Introduction to handle. Power/mode button. Press the button once to check the battery level. Press and hold he button for 1.5 seconds to power it on/off. When the Osmo Mobile 2 is powered on, tap the power/mode button once to enable lock mode and tap the button again to disable the mode. Tap the button twice to center the mobile phone. Tap 3 times to switch between the mobile phone’s front and rear cameras and enter selfie mode. Joystick. Move the joystick left and right to make the gimbal pan and up and down to make the gimbal tilt. Shutter/record button. After photo/video mode is selected in DJI Go press the shutter/record button to capture photos or videos. In photo mode press and hold the button to capture continuous photos. Zoom slider. Push the slider up and down to zoom in or out. USB port. The port is on the back of the handle and used to charge the mobile phone when its battery level is low. ¼”- 20 UNC port. The port is on the bottom of the handle and used to connect to a tripod. Have fun using your Osmo Mobile 2
DJI Osmo Mobile 2 - Operating Your Osmo Mobile 2
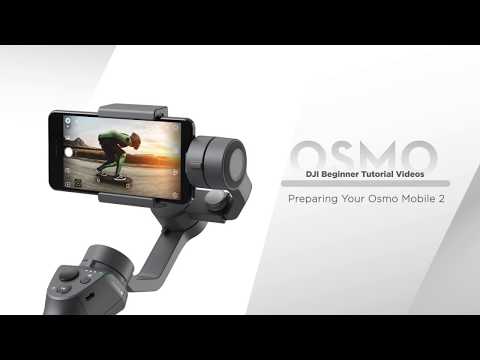
Osmo Mobile 2, preparing you Omso Mobile 2. To charge the Osmo Mobile 2 connect the DJI standard power cable to the charging port. When the battery level indicators blink it indicates that the battery is charging. The battery is fully charged when the battery level indicators are solid white. It takes around 2 hours to fully charge the battery when charging at 5V and 2A. 1. Mounting the mobile phone horizontally. Place the mobile phone in the mobile phone holder and keep the mobile phone’s right side close to the tilt axis. Loosen the balance adjustment knob and adjust the adjustable arms left or right until the roll axis is balanced. Tighten the knob. Adjust the position of the mobile phone holder until the mobile phone remains level. The mobile phone is now mounted horizontally. 2. Mounting the mobile phone vertically. Loosen the holder lock knob and rotate the mobile phone holder by 90 degrees. Tighten the knob. Place the mobile phone in the middle of the mobile phone holder. Hold the Osmo Mobile 2 horizontally and move the mobile phone until it remains still. Hold the handle vertically, loosen the balance adjustment knob and adjust the adjustable arms left or right and the mobile phone holder until the mobile phone remains still. Tighten the knobs. The mobile phone is now mounted vertically.
3. Activating with DJI Go. Press and hold the power button for 1.5 seconds and release it. When the system status LED turn solid green the Osmo mobile 2 is powered on. Launch DJI Go. Select Osmo Mobile 2. Tap connect and connect the Osmo Mobile 2’s Bluetooth. DJI Go will prompt you to activate the Osmo Mobile 2. Following the on screen instruction. Enter your DJI account. Tap activate to activate the Osmo Mobile 2. Now you can use your Osmo Mobile 2
r Osmo Mobile 2
DJI Osmo Mobile 2 - Preparing Your Osmo Mobile 2
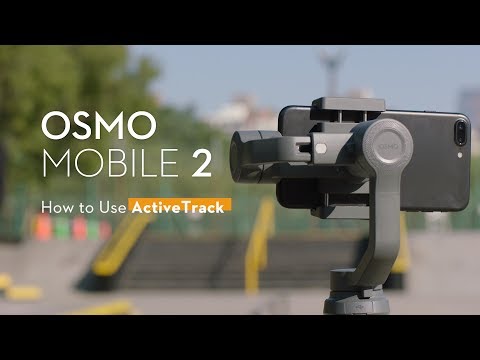
Osmo Mobile 2, how to activate track. Enable Bluetooth on the mobile phone. Turn portrait orientation lock off. Launch DJI Go. Tap connect your device. Tap the active track button in the lower right corner of the screen. Tap on the screen or mark an object and the Osmo Mobile 2 will start tracking it. Tap the record button to start recording. If a subject lost searching warning is shown in the app select the tracked subject again. If you have any questions contact DJI support.
DJI Osmo Mobile 2 - ActiveTrack

How to update the firmware on the Osmo Mobile 2. Ensure that the mobile device is installed and balanced before updating. The Osmo Mobile 2’s battery level is more than 30%. Launch DJI Go. New firmware update is available is shown on the screen of the app. Tap update now. Tap download now. The firmware package will be downloaded. After the firmware is downloaded tap start update. During the update the system status LED will blink red and green alternatively. It takes around 5 to 10 minutes for the firmware update to complete. After the firmware is updated successfully the system status LED will be solid green and an update complete prompt will be shown. Restart the Osmo Mobile 2. If the app notifies you that the firmware update failed or the system status LED is solid red restart the Osmo Mobile 2 and then update it again.
Osmo Mobile 2 - Updating the Firmware
