Drone Safety Tips
Click on any icon below for safety advice on drone flying. Find videos on topics from preflight checklists to choosing a safe environment, countering wind and troubleshooting inflight problems. Get tips on avoiding thin obstructions that an obstacle avoidance system may not detect. Do you need to fly in a restricted area? Click on “Unlocking a GEO Zone” and learn how to obtain a license. Other videos cover the best video positioning practices, how to set up Return to Home, and maintaining the remote controller battery.
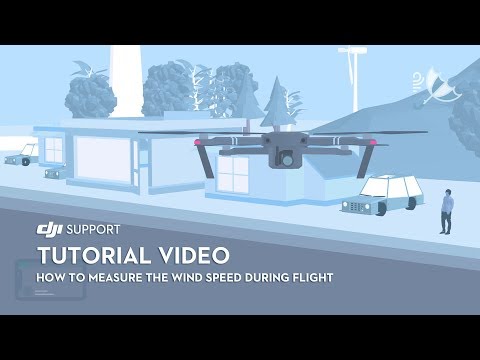
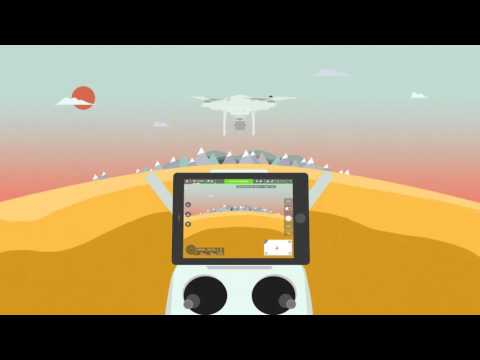
How to measure the wind speed during flight. Flying your drone at a high altitude to shoot some stunning aerial photos can be great fun. However, often the higher you go the stronger the wind becomes. So drone operators need to know how to fly safely by measuring the wind speed based on the attitude indicator shown in DJI go 4. When the aircraft takes off in a sense tap the button on the upper right corner of the FPB screen to display the attitude indicator that shows the aircrafts attitude. When the drone hovers in place the blue level will cover the lower semi-circle part. When the aircraft flies forward, backward, to the left or right the blue level will ascend, descend or incline to the corresponding side. If the roll stick is pushed to the right the drone flies to the right and the blue level will tilt towards the right.
In GPS mode if the attitude indicator is tilted greatly but the control sticks are not being pushed it indicates that the aircraft is adjusting its angle to resist the wind. The inclined direction represents the direction of the wind. If the drone is moving at a consistent horizontal speed with no control input from the operator then the wind speed has exceeded the speed that the aircraft can resist and you should land the drone as soon as possible. When there are heavy winds during flight a warning will pop up in DJI go 4 and the aircraft needs to be landed quickly.
Normally the wind’s effect on an airborne drone is greater than that on the operator at ground level. So the wind level of the weather forecast can only serve as a reference. The wind power at a high altitude may be much larger than the weather forecast. If you feel a strong wind on the ground do not fly the drone. Strong winds make controlling the aircraft more complex. When the drone is resisting the wind its battery drains much faster and its RPH speed may also be affected. If a strong wind warning is shown during flight land your drone in a safe place as soon as possible to avoid any flight accident due to a low battery level error.
DJI Tutorial Video - How to Measure the Wind Speed during Flight
If you lose control of your aircraft we recommend using the return to home function. Before doing so make sure to check the preset RTH altitude that should be set higher than all buildings and obstacles in the area and on the RTH route. Be aware of the battery gauge and camera interface. The red section indicates severe low battery, the yellow section indicates low battery, the H point indicates the lowest battery pointed required for RTH. When the battery gauge reaches the red section please land the aircraft as soon as possible. Position the antennas of the remote control are parallel to the aircraft during flight to ensure good remote control signal quality. Do not perform the combination stick command to stop the electric motors during flight unless absolutely necessary.
We recommend keeping your flight and camera lens directions consistent to avoid crashing caused by and perspective disorientation. If you’re flying quickly the aircraft might crash because of inertial drift. It’s best to keep a safe distance from obstacles at all times and pull the control stick backwards to avoid obstacles when necessary. If you lose sight of your aircraft for any reason fly slowly, stay above nay buildings in the area and on the RTH route. Losing image transmission may cause accidents if your aircraft is too far away. Therefore we recommend you keep your aircraft in your line of sight. Be aware the flying at low altitudes above water may affect the aircraft ultrasonic and barometric height measuring functions and the aircraft may fall into the water.
The battery should be fully charged while flying at high altitudes or in low temperate conditions. Please preheat the aircraft battery to above 20 degrees Celsius before flying in the cold. If you’re flying aggressively and fully pushing the sticks in the environment above you may then lose the aircraft. Please remember to fly safely while enjoying the fun of capturing beautiful scenery
Safety Tips - Precautions to take during flight
Hello and welcome to this DJI tutorial video. DJI remote controllers contain lithium polymer batteries. In this video we’ll share some usage and storage recommendations so you can maintain your remote controller’s battery health over time. Battery life may be reduced if the controller is not in use for a long time. Do not store the battery for long periods if the battery level is lower than 10% as the battery may over charge and the battery cells may be damaged. If leaving your remote controller idle for a long period of time place the remote controller in a sealed bag or fire proof bag and store it around 25 degrees Celsius. Also discharge the battery to 40 – 60% prior to storage. Fully charge and discharge the battery once every 3 months to maintain battery health. Do not allow the batteries to come into contact with any kind of liquid. Do not leave the remote control out in the rain or near sources of moisture.
Electrolytes in the battery are highly corrosive. If any electrolytes leak please contact DJI support as soon as possible. The remote controller should charge in temperatures from 0 to 40 degrees Celsius. Always use a DJI approved charger and disconnect the charger when charging is complete. Follow these steps to maintain optimal remote controller battery health.
Safety Tips - Using and Maintaining the Remote Controller Battery
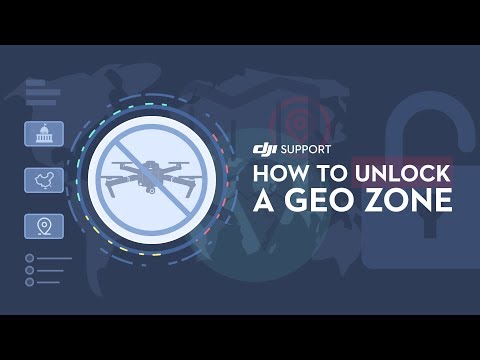
DJI is committed to helping maintain safe air space for all our users and the public. Our GEO system has different levels of geofencing zones to help you choose the right flight location based on different policies around world. If you have been authorized to operate in a GEO zone by the authorities you can apply to unlock flight restriction in Authorization Zones or restricted areas. There are 2 unlocking procedures, depending on the type of zone. Unlocking an Authorization Zone only requires a DJI user account to have its identity verified. When you takeoff inside or near an Authorization Zone a flight restrictions warning will be shown in the app. Tap yes and choose credit card or phone SMS for verification. After verification tap the confirm button to unlock the Authorization Zone. The unlocking license can be checked and managed in the app. You can also unlock and Authorization Zone on the fly safe section of the DJI’s official website before the flight.
First visit self-unlocking under fly safe on DJI’s website. Select the zone for unlocking and the product model and put your drone serial number and complete the identity verification. When the verification succeeds you can launch the app and download the unlocking license. If you have the authorization to operate in a restricted zone you can request custom unlocking from fly safe on DJI’s website. Select your plan flight area, input your drone’s serial number and submit documentation showing your authorization to fly in the designated area. After approval an email copy of your request will be sent to you. Then you can launch the app and download the unlocking license. The required documentation may differ depending on the type of the designated zone and flight purpose. For more details visit DJI’s website (www.dji.com/flysafe/customounlock) or send an email to flysafe@dji.com.
After you request is approved the unlocking license needs to be downloaded before you can fly in the GEO zone. Connect the mobile device and drone. Launch the app. Go the camera view, select general settings and select unlocking license. Tap app and sync to download the latest unlocking license. Tap import to aircraft. The drone’s unlocking license will be updated and the original 1 will be replaced. Tap aircraft and sync. Check the unlocking license. The unlocking license can be turned on or off as required. After the unlocking license is enabled the unlock flight zone will be displayed in the app. To fly outside of the zone turn off the unlocking license. To check the unlocking history go to the home screen. Me, more and my unlock NFZ application. Tap refresh to update the local list.
DJI provides a 24/7 unlocking service for GEO Zones. After an unlocking request is submitted on DJI’s website we will reply to you within 1 hour. If you have any questions sends an email to flysafe@dji.com.
How to Unlock a GEO Zone
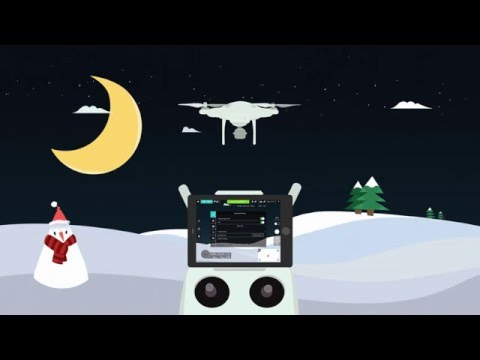
Image transmission is interrupted. With the drone hovering try to adjust the antennas or exit and reenter the camera interface. Then fly the drone back to its home point. The drone enters fail safe RTH, the drone will return to the home automatically. Don’t panic, wait patiently for signal retrieval and retake control of the aircraft. The drone hovers unstably, unstable hovering may be due to a weak satellite signal or compass interference. Land the drone safely. There’s compass, please switch to ATTI ode when the app alerts you off interference or proceed with RPH and land the drone. Calibrate the compass before relaunching the aircraft somewhere without interference. Using RTH with a low battery, if your battery is low proceed with RTH and land the drone safely once it comes into vision. Please do not rashly cancel the RTH process since the aircraft lacks electricity and might not make the return to home safely.
If you don’t know which way the nose is facing, keep the aircraft nearby and adjust accordingly until you’re well oriented. If you lose the nose which you’re far away it can adjusted by observing the green connection line between the remote controller and the aircraft displayed on the map. Alternatively intelligent orientation control can be activated under F mode. Course lock can be thought of as single direction. After climbing to a safe altitude pull back on the control stick and fly the drone directly to the home point. Land the drone safety after it comes into vision. Wind speeds are high and the drone can’t hover. If the drone can’t keep hovering due to high wind speeds please descend and land safely.
Safety Tips - What Should I do If These Problems Occur?
First attach the propellers properly, mount the propellers with solver dot onto the silver topped motors. Mount the propellers with black dots onto the black topped motors. Check he tightness of the propellers, make sure they’re not too tight and not too loose. Turn on the remote controller in the aircraft, ensure the aircraft self-check is functioning properly. Enter the DJI go app, check the GPS signal bar, the signal is strong if the indicator has more than 3 bars. Pay special attention to the system status bar which indicates the state of your aircraft. Check that the battery level is enough for a safe flight. Check the internal temperature of the battery, if the environmental temperature is very low tis recommended to preheat the battery to 20 degrees Celsius before the flight. Check the live HD video feed from your camera to make some image transmission is working well. If HD video signal icon only displays red bars your current environment contains too much interference and is unsuitable for flight.
Then calibrate the compass, set the spot where calibration was successful as the takeoff point. Use the combination stick command on the remote controller to start the motors and wait for the app to say bell point has been updated. The appearance of a green home point on the map indicates that the home point has been successfully recorded. The takeoff point will strongly affect the controller and the signal off image transmission. Therefore, flat open and spacious areas should be chosen as takeoff points. Tyr to avoid tall structures and buildings. Next judge the environment to determine if the current wind strength is suitable for flight. When tree branches are swinging substantially wind speeds may be over level 4 on the go 4 scale which is too strong for a stable phantom free flight.
When a pedestrian feels strong wind resistance wind speeds may be over level 5 and too strong for a stable inspire 1 flight. If there’s bad weather like rain, snow or fog flight plans should be cancelled. Please try to avoid the following: environments with lot of birds, crowded areas, areas with tall buildings, extremely high altitudes and environments with severe signal interference. Please remember to fly safely while enjoying the fun of capturing beautiful scenery.
Safety Tips - Preflight Checklist and Flight Environment Selection

What to do after remote controller signal is lost. Step 1, settings. Enter camera view, tap mc settings, tap advanced settings. Find rc signal lost. There are 3 options: return to home, landing, hover. Step 2, fly. I) landing. 3 seconds after the remote controller signal is lost. II) hover. 3 seconds after the remote controller signal is lost the aircraft automatically hovers in the air first. Then lands on the ground when the battery level gets low. III) return to home, select fail safe mode, enter a safe RHT altitude 80m for instance. If the current altitude of the aircraft is 80m or higher, then the aircraft will horizontally return home at the current altitude. If it is lower than 80m the aircraft will ascend to 80m and then return home horizontally. If the aircraft is within 20m from the home point, it will automatically descend in place.
Safety Tips - What to do after the RC signal is lost
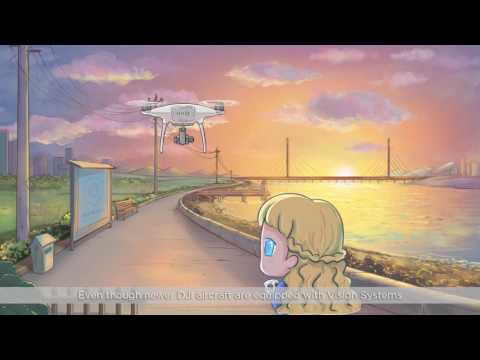
Hello, welcome to this DJI tutorial video. DJI’s newer products like the maverick pro phantom 4 series and inspire 2 have vision systems that make the drone less likely to crash into obstacles. Over the next several week we’ll be sharing the most common pilot errors we encounter. Here’s #10, crashing into thin obstacles. Even though newer DJI aircraft are equipped with vision systems, objects such as power lines and tree branches sometimes cannot be detected. Assuming your drone will avoid such objects automatically may lead to a crash. To avoid accidents make sure to observe your environment before flying and avoid thin objects manually if your drone gets too close to them during flight
Safety Tips - Crashing into Thin Obstacles
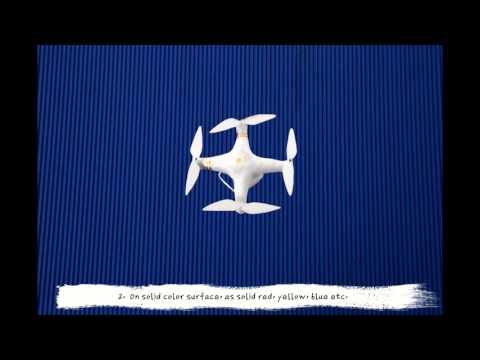
Safe usage of video positioning system module. Where is the VPS module located? VPS module including video positioning system and ultrasonic altitude hold system are located on the bottom of phantom 3. When the VPS is disabled aircraft drifts on one level. When the sonar feature is disabled aircraft can’t hold altitude while VPS is working normally aircraft hovers properly. On a flight altitude lower than 3 meters VPS works normal with clear floor pattern and good lighting. On a flight altitude higher than 3 meters (10ft) VPS module cannot be used.
So what else can prevent VPS from normal operation? 1. Fast flying lower than 0.5m VPS, VPS will not be working. 2. On solid color surface, a sold red, yellow, blue etc. Surface with a few patterns or tiny texture is not appropriate to use video positioning system. 3. Having moving objects under the aircraft. VPS will not be working. Some animals can be sensitive to the sonar and behave strangely. Please keep the distance away from animals while using VPS. 4. Fast changing of environment over brightness and darkness will cause VPS fail. 5. Inclined surfaces more than 30 degrees can lead ultrasonic altitude hold system to efficiency drop. 6. Flying surfaces that can absorb sound waves lead to ultrasonic altitude hold system failure. For example thick carpets. 7. Flying above transparent objects or water VPS is invalid.
How to turn off VPS. Please enter MC Settings in DJI Go app. Tap advanced settings, turn of VPS. To avoid risk of unstable flight indoors please check if your environment and ground surface are appropriate for safe flight. Please be careful using your aircraft indoors with limited space and bad aerodynamic environment.
Safety Tips - Safe usage of video positioning system module
