DJI Phantom 4 Pro v2.0
Explore functions of the Phantom 4 Pro 2.0 in the short videos below. Start with Activating the Aircraft, including how to link your quadcopter to an email account—an important step—and practice on a flight simulator. Check out the video that explains how to link your remote controller and aircraft. Then learn how to calibrate the IMU. Examine two ways to upgrade firmware: by using your PC or the DJI GO 4 app. There’s a video on each. If you have DJI Goggles, you’ll want to see the video that explains how to wirelessly link the goggles, then your controller.
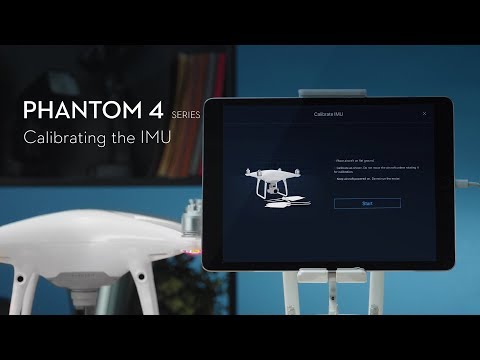
Before calibration remove the propellers. Power on the drone and connect to DJI Go 4. Go to main controller settings, advances settings and sensors. Tap calibrate IMU. Calibrate the drone following the on screen instructions. After calibration restart the drone. Note: Do not move the drone during calibration. If the calibration fails several times capture a screen shot of the prompt, export the flight controller data, upload it to a server and contact DJI support.
Phantom 4 Series - Calibrating the IMU

Power on the remote controller and aircraft and connect the remote controller to the mobile device with a USB cable. Install and launch DJI Go 4. An activation prompt will pop up automatically. Tap next. Read the terms of use carefully. After the activation proves starts name your Phantom 4 Pro v2.0. You can change the name later in the app. Choose a control mode, the default control mode is mode 2. Tap continue and set the customizable buttons. You can customize the C1 and C2 buttons on the back of the remote controller. Then select your desired measurement system and video standard. Next select whether or not you’d like to use the beginner mode. In beginner mode the drone will not takeoff without a strong GPS signal and the flight’s altitude and radius are limited to 30m. Then confirm your accounts email address. Tap activate. Please note that the account that you use to activate your Phantom 4 Pro v2.0 cannot be changed later. The aircraft’s information will be bound to your account permanently and your account will serve as proof of warranty if you need after sales service. Before your first flight you can practice your flying skills with the flight simulator.
DJI Phantom 4 Pro V2.0 - Activating the Aircraft
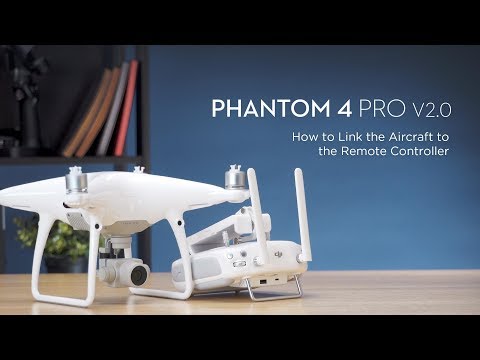
Linking with DJI Go 4. Connect the remote controller to the mobile device and launch DJI Go 4. Go to remote controller settings and tap linking remote controller. Tap OK. When the remote controller makes beeping sound and the indicator is blinking blue the remote controller is ready to link. There is a round hole between the SD card slot and USB port on the left side of the drone. Press the link button with a pen or other tool for about 2 seconds. When the indicator is solid green and the remote controller stops beeping the linking is successful. And a remote controller linked prompt will be shown in the app. Linking with a key combination on the remote controller. When the remote controller is turned on press and hold the C1, C2 and video recording buttons at the same time. When the remote controller makes beeping sound and the indicator is blinking blue the remote controller is ready to link. There is a round hole between the SD card slot and USB port on the left side of the drone. Press the link button with a pen or other tool for about 2 seconds. When the indicator is solid green and the remote controller stops beeping the linking is successful. If linking fails several times contact DJI support
DJI Phantom 4 Pro V2.0 - How to Link the Aircraft to the Remote Controller
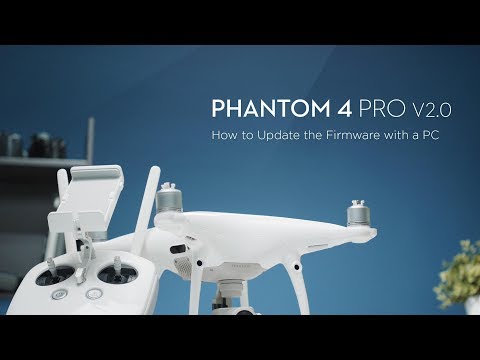
Updating the Phantom 4 Pro V2.0 separately. Before updating fully charge the drone and remote controller. Connect the Phantom 4 Pro V2.0 to the PC with a USB cable. Power on the drone. Launch DJI Assistant 2. Log into your DJI account. Wait until the firmware list is shown on the screen. Click upgrade ad update the aircraft’s firmware following the on screen instructions. Do not turn off the aircraft or touch the USB cable during the update. Please wait until the update is complete. Updating your remote controller separately. Connect the remote controller to the PC with a USB cable. Power on the remote controller. The remote controller does not support hot swapping. Power on the remoter controller after it has been connected to the PC. Click on the connected device. Click update on the firmware upgrade screen. Do not turn off the remote controller or touch the USB cable during the update. Please wait until the update is complete. Updating the Phantom 4 Pro v2.0 and remote controller simultaneously. Connect the remote controller to the PC with a USB cable. Power on the remoter controller and aircraft. Ensure that the remote controller has been linked with the drone. Click on the connected device. The drone’s and remote controller’s firmware version will be displayed. Select the latest firmware version. Click upgrade. The Phantom 4 Pro version 2.0 and the remote controller’s firmware will be updated simultaneously. If the update fails several times or the drone cannot be linked to the remote controller as the aircraft’s and remote controller’s firmware versions do not match, it is recommended that you update them to the latest version separately.
DJI Phantom 4 Pro V2.0 - How to Update the Firmware with a PC
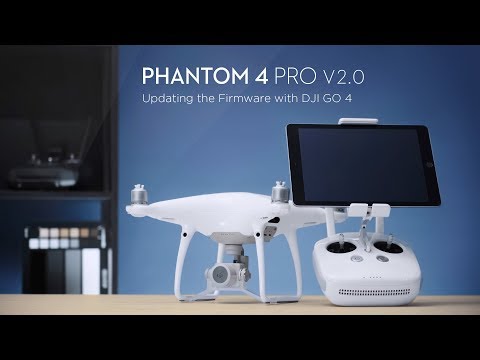
Remove the gimbal clamp, connect the remote controller to a mobile device. Ensure that the mobile device is connected to the internet. Power on the aircraft and remote controller. Make sure that the drone’s and remote controller’s battery level is more than 50%. Launch DJI Go 4, ensure that you have the latest version of DJI Go4. The app will automatically detect the firmware version and new firmware update is available will be shown. Tap the notification to enter the update screen. Tap download now and the firmware will automatically down and then start uploading. When update complete is shown the firmware update is finished. If multiple flight batteries need to be updated insert each additional battery into the aircraft and update separately. An inconsistent firmware found prompt will be shown when the battery is inserted. Slide the slider and the drone will automatically update the corresponding module. After the update is successful restart the device. If the battery level is lower than 50% or the device or internet disconnects then the update may fail. Do not power off the aircraft during the update and it is normal for the aircraft to restart automatically.
DJI Phantom 4 Pro V2.0 - Updating the Firmware with DJI GO 4
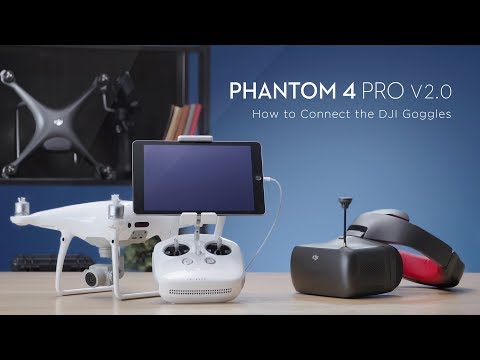
Power on the Phantom 4 Pro V2.0 and remote controller. Make sure that the remote controller is linked to the drone. Turn on the DJI goggles. Use the touch panel to enter tool, settings, linking settings and tap confirm. Then press the link button on the aircraft. If linking complete is shown then the quick lining is complete. After connecting the DJI Goggles a mobile device running DJI Go 4 can also be connected.
DJI Phantom 4 Pro V2.0 - How to Connect the DJI Goggles
